Update Your (Unity) Game Using PlayFab Without Releasing a New Version Part-1
Learn how to store game data remotely on PlayFab servers to easily change configuration on the fly without releasing a new version of the game.
Table of Contents#
Overview#
I was recently looking for a solution to store my upcoming game's configuration data remotely because of multiple reasons:
- To balance things easily during beta/pre-releases,
- To update the configuration in frequently changing parts,
- To A/B test important parts of the game,
- Toggling content for campaigns or special events,
By the way, here's a link for you to join early beta:
Ever Beyond: Idle Space Game
My latest merge-based idle game is now available! Discover the wonders of space in this immersive idle game that blends captivating storytelling with addictive gameplay mechanics.
Why Do You Need a Remote Config#
Static vs Remote Config
Let’s list some reasons for why you may need to store your game’s configuration remotely:
To balance things easily during beta/pre-releases or to update the configuration in frequently changing parts without releasing a new version and waiting for it to be approved by stores. For example,
- If you want to update health value of a certain enemy in the game,
- Adjust attack value of your main character,
- Or modify the cost of an upgrade, etc. there is no need to go through the release process if you store these configurations remotely. This will be handy especially if these are frequent changes.
To A/B test important parts of the game by serving different configurations to different player segments and comparing the results to make data-informed decisions. You can always rely on written or verbal player feedback but in order to make fine adjustments on a configuration, you need some data to be based on. This will be useful especially for a large player base as the data will be much more reliable as it grows. For example,
- In a single-player puzzle solving game you can divide players into two groups to give different amount of hints (e.g. 1 hint vs 3 hints) to see which group plays the game longer and completes the level,
- Or you can try different type of RNG algorithms to see which one yields more enjoyable moments in the game.
To override the existing configuration for campaigns or special events for a period of time. For example, you can have:
- Discounts on certain items in your game during Black Friday,
- Increased rewards for Christmas, etc.
Options for Storing Game Configuration#
There are multiple ways to store your configuration:
- Client side → Requires app update and store (Steam, GooglePlay, iTunes, etc.) review each time.
- Custom backend → Requires you to implement your own backend solution —and host it somewhere to store your configuration. Allows dynamic content update, and could be very useful if you have other permanent data to store, or do some operations securely in remote server. However, you need to spend a lot of time and effort to implement your own backend solution, which can be a huge task on its own.
- PlayFab (or any other cloud service) → Requires minimal effort to integrate and use. Most of the time these services contain everything you need including storing the configuration remotely.
Why PlayFab#
PlayFab allows storing configuration remotely for free up to ~1 million characters, and 1000 key-value pairs. This is more than enough for 99.9% of the scenarios one might require.
A/B testing and analytics are also available in PlayFab to override the game configuration for certain segment of players to collect data and make decisions to improve play times, conversion rates, etc.
You can use any type of cloud service, but PlayFab offers all services you might need for free with very reasonable limits. You can check out all features in here: https://learn.microsoft.com/en-us/gaming/playfab/what-is-playfab
Installing the PlayFab SDK#
- If you have an existing project that you would like to integrate the PlayFab SDK, follow the instructions in https://learn.microsoft.com/en-us/gaming/playfab/sdks/unity3d/quickstart, install the unitypackage
- If you would like to test this out in a new project, download the Empty Project Template (SourceCode.zip) that contains the PlayFab SDK, the test scene and the scripts to follow along with this tutorial.
Initializing the SDK#
Complete the steps in PlayFab Quickstart Docs until the Making your first API call section to install the SDK. We’ll do the API call together for both logging in and fetching the game configuration.
PlayFab-login.png
Defining the Configuration in PlayFab#
Note that there are two ways to see and update game configuration in PlayFab:
- Using “Window > PlayFab > Editor Extensions” to open the PlayFab window, and selecting “Data” tab.
- Logging in to playfab https://developer.playfab.com/en-us/login, opening your Title and selecting “Content” from the left menu.
Both approaches can be used, and it’s up to you to choose. But I like relying on website to update the content, rather than the editor window extensions. Let's keep this tab open and switch over to Unity.
Both “Title Objects” and “Title Data” can be used in PlayFab to store configuration. The difference is that the Title Data allows key-value pairs (up to 1MB ~ 1 million characters in total) and value overrides, while Title Objects expects objects (up to 20KB ~ 20k characters in total). Because of its advantages, we’ll be using Title Data key-value pairs as our configuration source.
Title Data limits in PlayFab:
Title data limit in PlayFab
Either use the Editor Window of PlayFab or the website to add following key-value pairs as our title data:
| Key | Value |
|---|---|
| IntValue | 24 |
| BoolValue | true |
| StringValue | Remote-data |
| ComplexValue | {"InnerIntValue":2424,"InnerBoolValue":true} |
How to Fetch Configuration (aka Title Data) from PlayFab#
If you have downloaded the Empty Project Template and following along with this tutorial, you will notice there are three classes under the “Scripts” folder. If you don’t want to download the project but just want to check out the files, see the GitHub project page.
ContentData: Test configuration to hold the default (local) or downloaded data. This will contain all key-value pairs that we define in PlayFab.ContentView: Simple UI class to show the local or downloaded content data.ContentUpdater: This is the main class we’ll be using to connect to PlayFab, download the game data and pass it to theContentView.
Make sure to login to PlayFab from the editor window, and select a valid Studio and a Title from its Settings before continuing.
PlayFab settings should look similar to this:
PlayFab-Settings.JPG
Let’s make our first call to PlayFab servers by modifying ContentUpdater accordingly:
public void LoadRemoteData()
{
    this.HideButtonsAndShowLoadingBar();
    this.FetchTitleData();
}

private void FetchTitleData()
{
    SetLoadingMessage("Fetching content");

    // Request ALL title data key-value pairs as Dictionary<string, string>
    var request = new PlayFab.ClientModels.GetTitleDataRequest();

    PlayFab.PlayFabClientAPI.GetTitleData(
        request,
        result =>
        {
            // TODO: Process the result
            SetLoadingMessage("Processing the result");
        },
        error => contentView.ShowMessage($"Error:\n {error.ErrorMessage}"));
}
We are using PlayFab.PlayFabClientAPI.GetTitleData method with PlayFab.ClientModels.GetTitleDataRequest to fetch all the key-value pairs in the title data. This method will return a Dictionary<string, string> as a result.
If you would like to fetch certain key-value pairs, use following request instead: (Ignore this if you just want to follow along with this tutorial)
var request = new PlayFab.ClientModels.GetTitleDataRequest
{
Keys = new List<string> { "desired-key" },
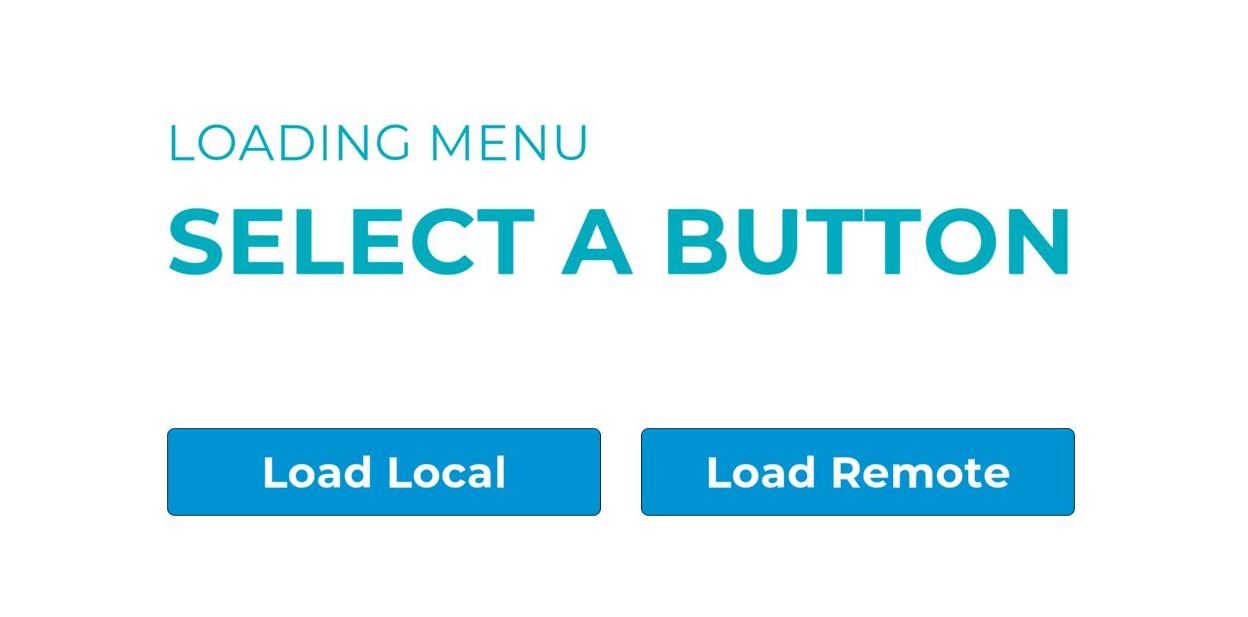
};If you go back to Unity to start the project, and click to “Load Remote” button, you will expect it to fetch the title data. However, it will throw and exception:
PlayFabException: Must be logged in to call this method
PlayFab.PlayFabClientAPI.GetTitleData (PlayFab.ClientModels.GetTitleDataRequest request, System.Action`1[T] resultCallback, System.Action`1[T] errorCallback, System.Object customData, System.Collections.Generic.Dictionary`2[TKey,TValue] extraHeaders) (at Assets/PlayFabSDK/Client/PlayFabClientAPI.cs:941)
This error message is pretty self-explanatory: What we need to do is just logging in before making the title data request.
Let’s modify the ContentUpdater again (by leaving the FetchTitleData implementation as is) to add LoginToPlayFab method:
public void LoadRemoteData()
{
    this.HideButtonsAndShowLoadingBar();
    LoginToPlayFab(FetchTitleData);
}

private void LoginToPlayFab(Action onLoggedIn)
{
    SetLoadingMessage("Logging in");

    var request = new PlayFab.ClientModels.LoginWithCustomIDRequest
    {
        CustomId = SystemInfo.deviceUniqueIdentifier,
        CreateAccount = true,
    };

    PlayFab.PlayFabClientAPI.LoginWithCustomID(
        request,
        _ => onLoggedIn?.Invoke(),
        error => contentView.ShowMessage($"Error:\n {error.ErrorMessage}"));
}
Processing the Downloaded Data#
If you’ve been following the tutorial so far, you will notice that there will be no errors now, but the screen will hang after the “Processing the result” message.
This is because we still have the // TODO: Process the result that needs to be tackled with. Let’s modify the ContentUpdater.FetchTitleData method to replace the TODO comment with an implementation to print the result.
PlayFab.PlayFabClientAPI.GetTitleData(
    request,
    result =>
    {
        SetLoadingMessage("Processing the result");

        var downloadedData = new ContentData
        {
            IntValue = int.Parse(result.Data["IntValue"]),
            BoolValue = bool.Parse(result.Data["BoolValue"]),
            StringValue = result.Data["StringValue"],
        };
        contentView.ShowWithData(downloadedData);
    },
    error => contentView.ShowMessage($"Error:\n {error.ErrorMessage}"));
If you go back to Unity and try to show downloaded content, following will be printed on screen:
Content-with-null-complex-value.JPG
🎉 We have the remote config downloaded and ready to be used. 🎉
But what about the ComplexValue? Why is it null, and how can it be parsed?
Parsing the ComplexValue#
Since it’s a complex type and stored as serialized JSON, we need a JSON tool to deserialize it into C# object. If you’re using the target Unity version of this tutorial (2021.3.3f1), you should already have Newtonsoft’s Json.NET library imported in the project.
All we need to do is importing the namespace (using Newtonsoft.Json;) in the project and using JsonConvert to deserialize the string into our complex type:
var downloadedData = new ContentData
{
    IntValue = int.Parse(result.Data["IntValue"]),
    BoolValue = bool.Parse(result.Data["BoolValue"]),
    StringValue = result.Data["StringValue"],
    ComplexValue = JsonConvert.DeserializeObject<ContentData.ComplexData>(result.Data["ComplexValue"]),
};
Now when we load the remote data, we should also have our complex value deserialized and ready to use:
Content-with-complete-remote-values.JPG
Conclusion#
This wraps up the Part-1 of this series. If you’ve been following along with the tutorial, your files should like this after making the changes: Part-1 Downloading and Parsing the Data.
How to Use the Downloaded Content#
There are multiple ways to use the downloaded content. It of course depends on the situation but some of them are:
- Passing around the
ContentDatainstance directly - Creating a singleton
ContentDataManagerclass to hold an instance ofContentDataand make it available to other classes through itspublic static Instanceproperty. - Using dependency injection e.g. with Zenject, VContainer, etc. to bind a
ContentDataProviderclass to provide theContentDatawith desired isolation.
Things to Keep in Mind#
- If the connection or download fails for any reason (e.g. starting the app in offline mode), you can always fallback to
ContentData.Defaultto use the default configuration in the app. One other alternative could be caching the downloaded data and using that as fallback if it exists, otherwiseContentData.Defaultcan be used as a last resort. - It’s most of the time better to work with the strongly-type
ContentDataclass rather than theDictionary<string, string>to catch the possible issues during compile time. However, you might want to change the definition of your class during your development, or after the release. So it might be a good idea to introduce versioning to your title-data to mark expected (minimum) client version.
Next Steps#
Even though this approach works fine for now, it’s not very robust or flexible because of mapping each and every dictionary item to class properties. If we want the maximum flexibility with this strongly typed data class, one option is to use the power of Json.NET to convert Dictionary<string, string> to our ContentData class. With a custom Json converter, our class can support attributes such as [JsonIgnore], [JsonProperty], etc. and deserialization callbacks to make it very flexible and backwark compatible.
In Part-2 of this series, we’ll see how such thing can be implemented easily: Update Your (Unity) Game Using PlayFab Without Releasing a New Version Part-2
Written by Gokhan Dogramaci
I'm a passionate developer who loves creating games and building tools that help other developers. Currently working as a Tech Lead in Yousician. With experience in game development and web technologies, I enjoy tackling complex problems and turning ideas into polished products.
Loading comments...